

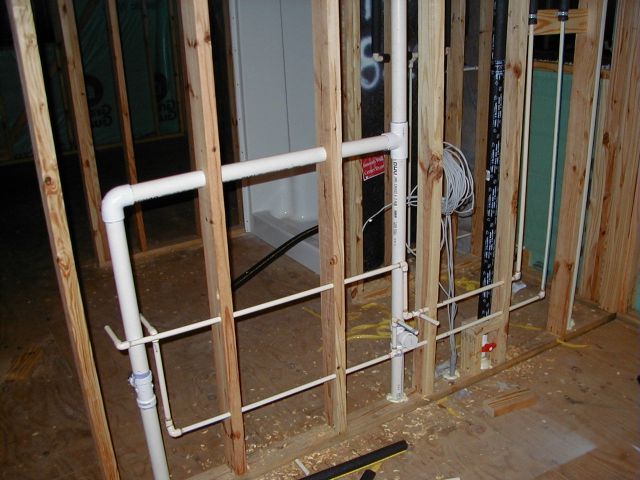
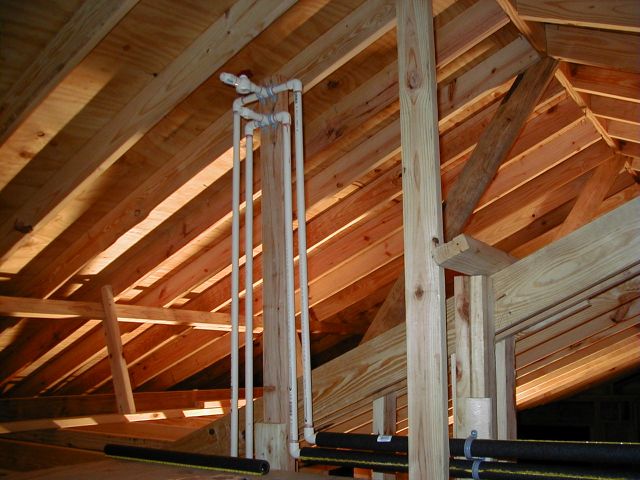
The part you won't see pictures of is the part where I spent days under the house making everything hook together... but then, it wasn't all that interesting, just unpleasant! Finally, I was able to hook up a washer and dryer! Yay! That was a major watershed for me: no more trips to the laundromat! After the drain plumbing was all in, next came the supply plumbing.

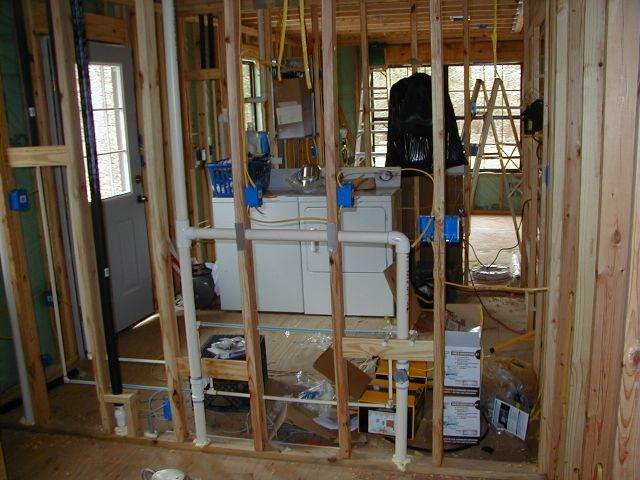
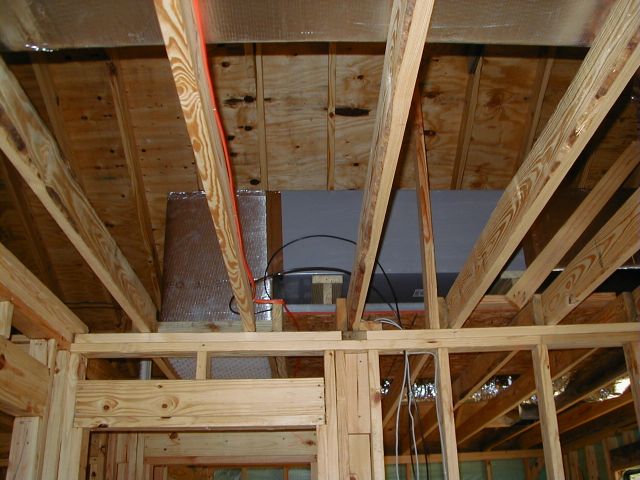
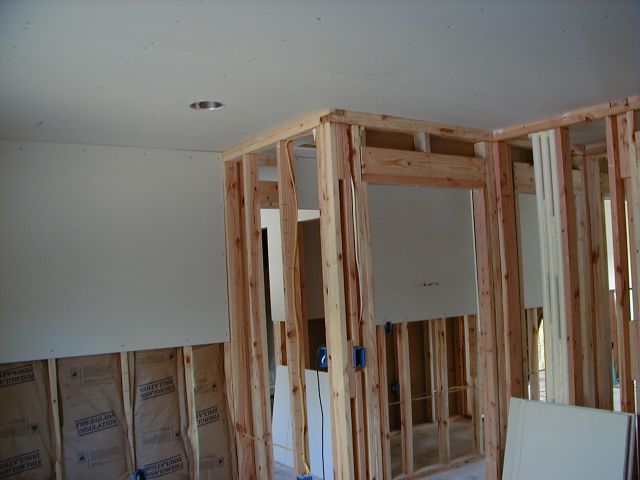
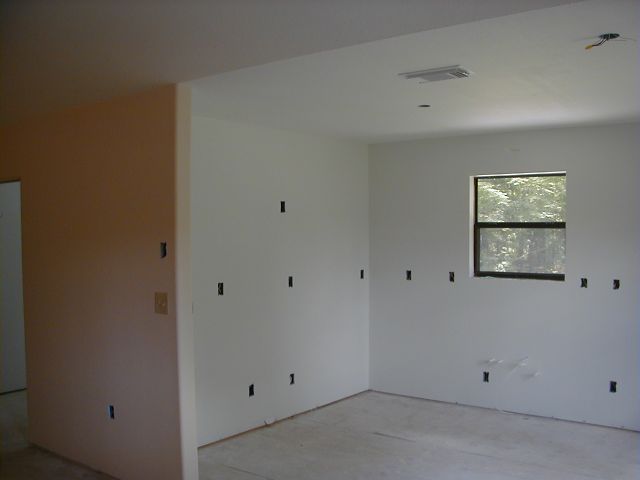
Once the plumbing was all roughed in, it was time to start on the electrical. In addition to a lot of power wiring, I also ran co-ax, cat5e ethernet cable, speaker wire and phone wire to every room.. I figured it this way: wire is cheap, and it'll never be easier to run a wire than it is right now!


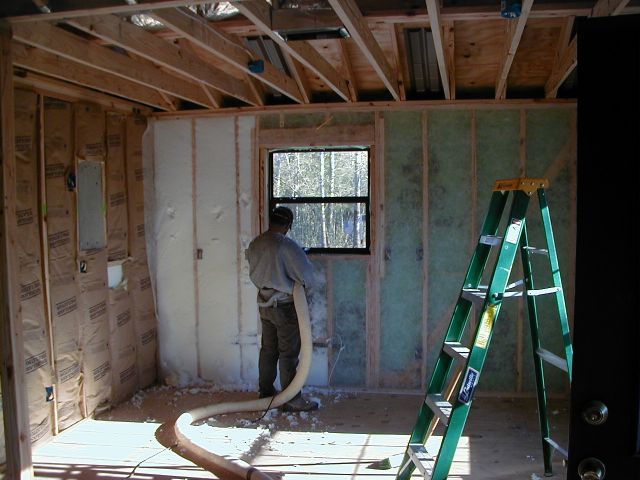
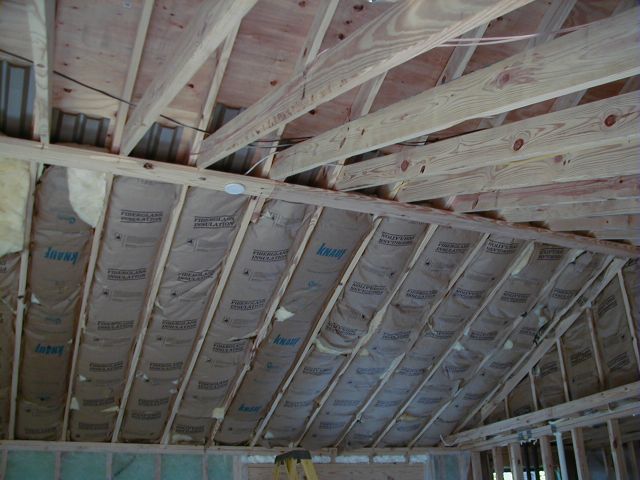
Once all the rough in was completed, it was time to insulate. I decided to go with blown-in insulation, rather than the more conventional batts. I was really impressed at how it is installed in stud walls! The installers cover the faces of the studs with a thin mesh, then the insulation is blown in behind it. They really pack it in and it creates a very air-tight barrier and a higher r-value than conventional methods. The cathedral ceiling was the only place where bats were used.

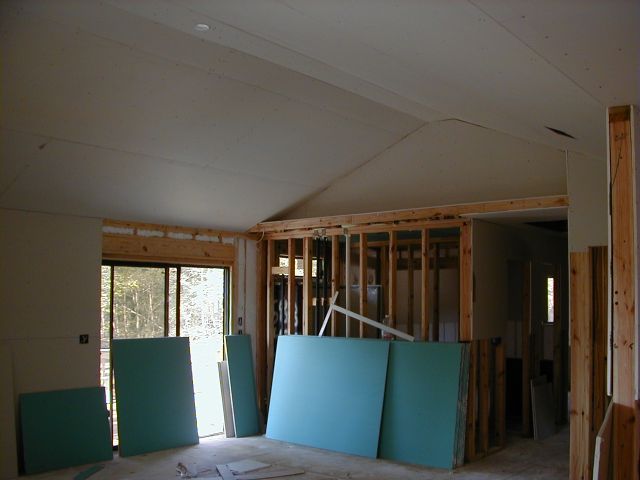
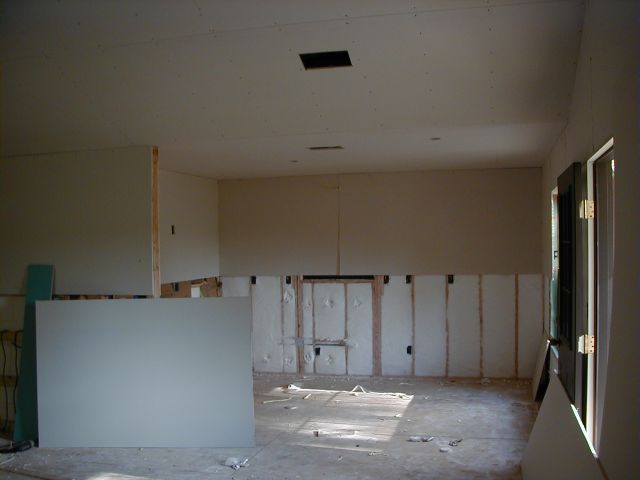
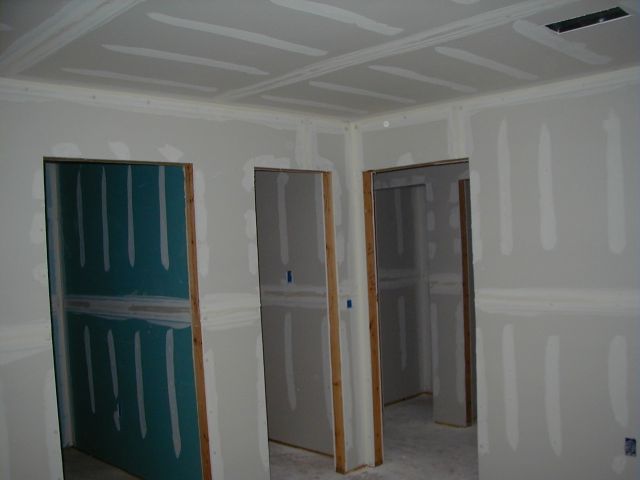
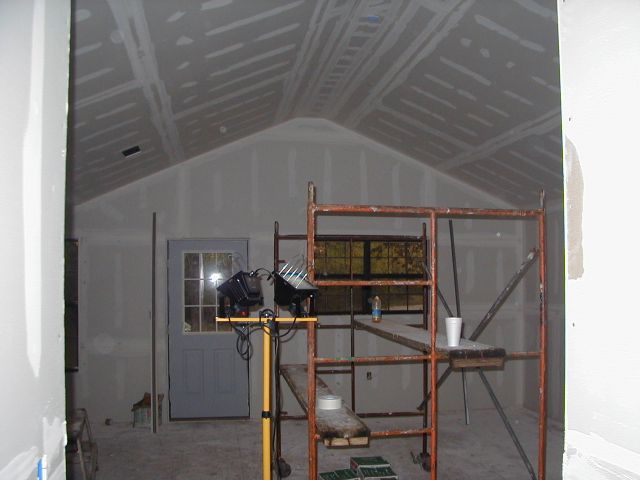
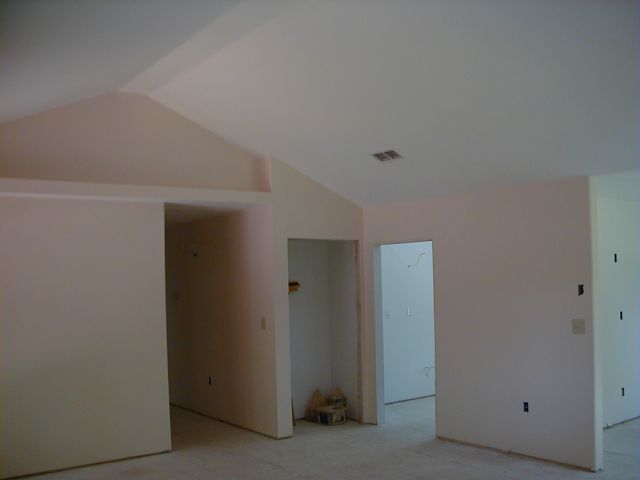
It's sheet rock time! Not being a masochist, I contracted the entire sheet rock job out... including the tape and texture, and I'm sure glad I did! I'd probably still be working on it otherwise! It's amazing how it changes from a skeleton to a house almost overnight!
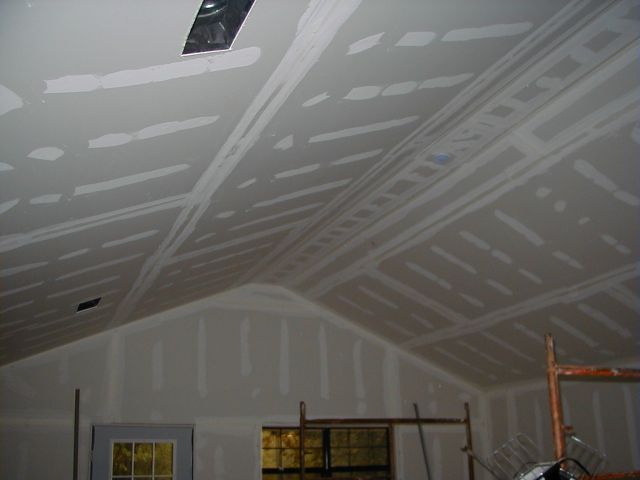
Next comes painting, which I actually sort of enjoy. The most painful part of the whole paint job was applying 2 coats of primer and 2 coats of ceiling paint to that cathedral ceiling in the great room. Ouch, my neck! The main areas were done in a light tan and white.


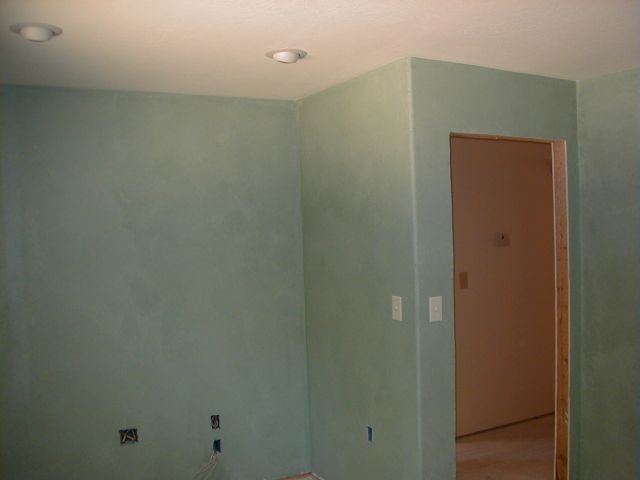
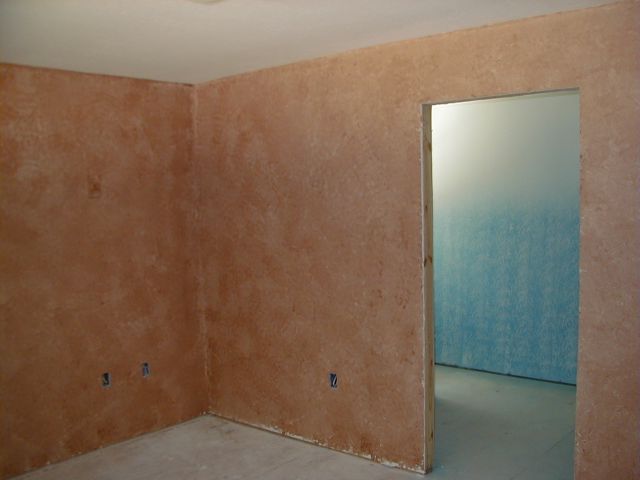
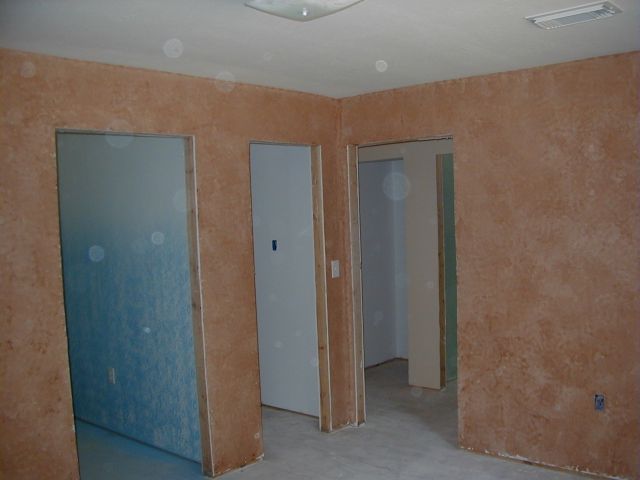
I let my creative instincts take over.. I used some faux paint techniques to do the bedrooms, and did this really interesting Mediterranean blue fade with white in the master bathroom. It really turned out nice! The pictures don't do it justice, but you get the idea.


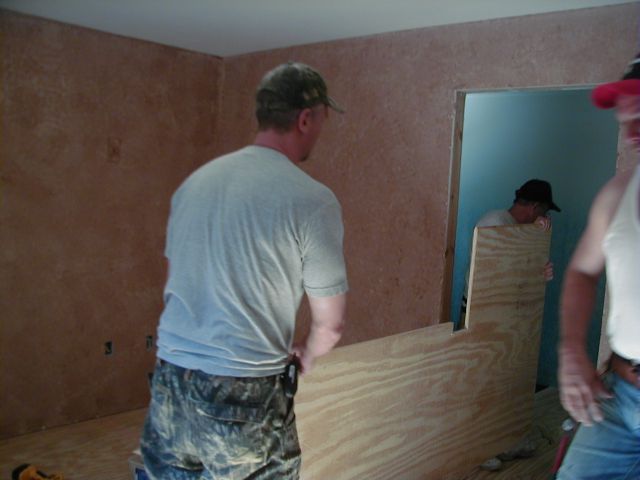
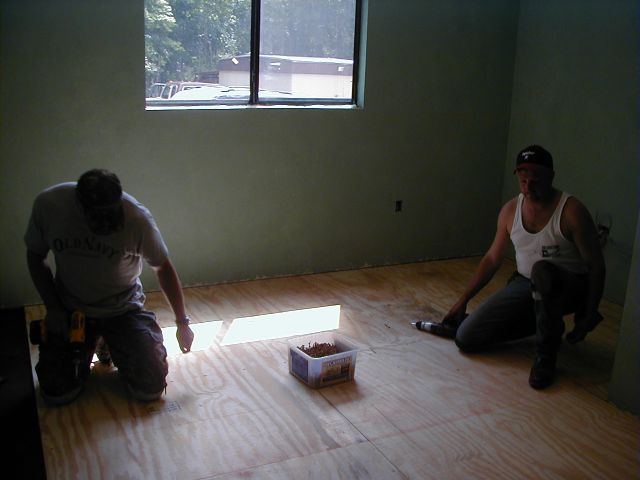
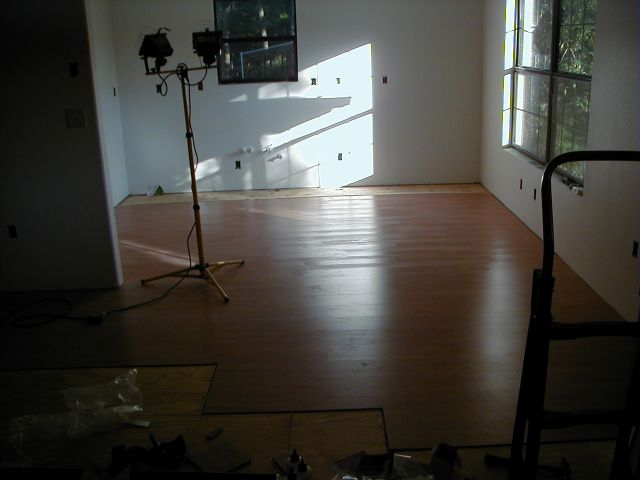
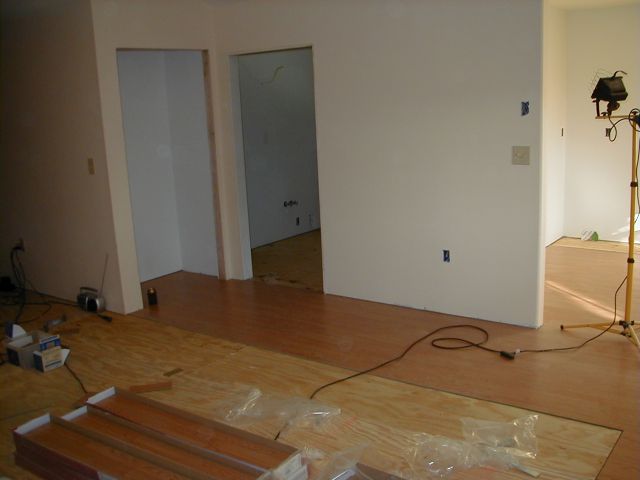
Finally done with painting for a while, I enlisted the help of some friends and we sub floored the whole place with 3/4" tongue and groove plywood. We must have used 30 lb. of screws to fasten it all down and it sure firmed up the floor! Afterwards, I had pizza delivered and we all chowed down. I guess you could say we drank beer, ate pizza, and screwed all day!


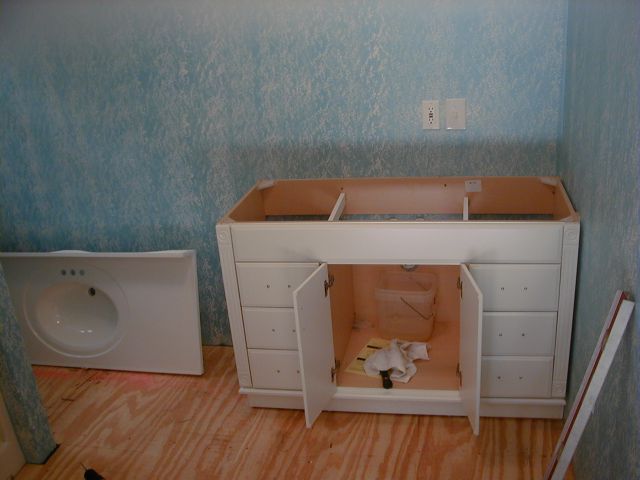
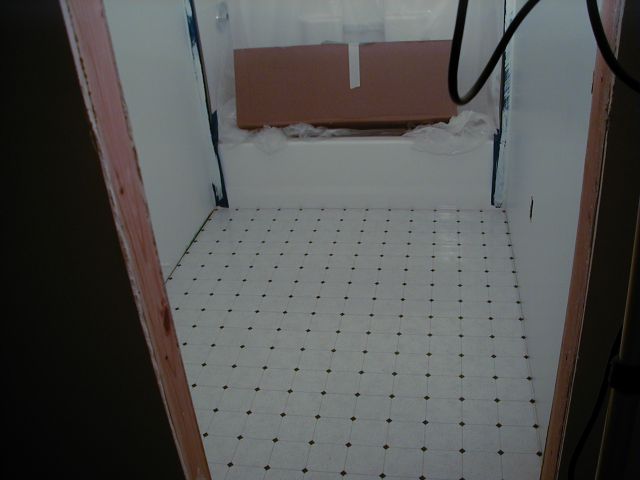
Hard surface floors were next.. after setting the vanity in the master bath, sheet vinyl was laid. It's not as dark as it looks here.. more of a marble color. The guest bath got an old-timey tile treatment. I have great plans for the guest bath.. more on that another time!

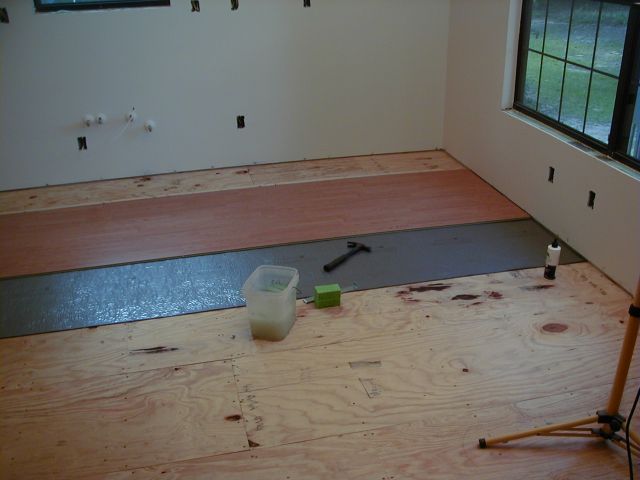
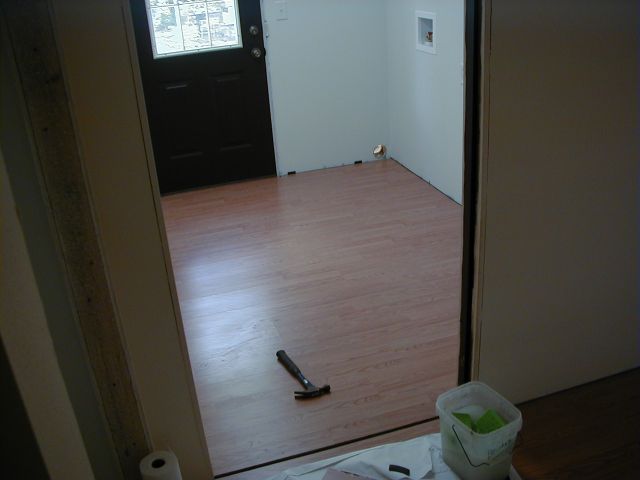
A Pergo-style laminate floor for the kitchen, utility room and connecting area completes the hard floor installation, and that will complete this installment of the home base saga.
And now, a word from our sponsor...
...well, actually, I feel compelled to try to explain why this update
is so late! These pages have been partially completed since February! But
here it is August already... my, how time flies! Truth is, every spare
waking moment of my life has been dedicated to this project... I just haven't
been able to take the time to complete these pages. I apologize for the
long wait, and thank all of you for your patience! As I write this final
paragraph, kitchen cabinets are going in, the trim work is (finally!!!)
getting completed and carpeting is just a few weeks away. Then, appliances
and fixtures go in and it'll be a house! I plan on having quite a housewarming
party and you're all invited! Sometime in October, I hope to complete the
final part to the homebase saga and show you the whole, completed project.
Please do drop back by the website to see it! Till then, happy trails!!
 |
 |
![]()